I have recently finished breastfeeding my baby girl. We only made it 7 months but that was a huge accomplishment for me. Not only did I love doing it; I loved the money I saved. Now that we are using formula full time we have a lot of empty cans. Luckily, these cans can be used for so many things!
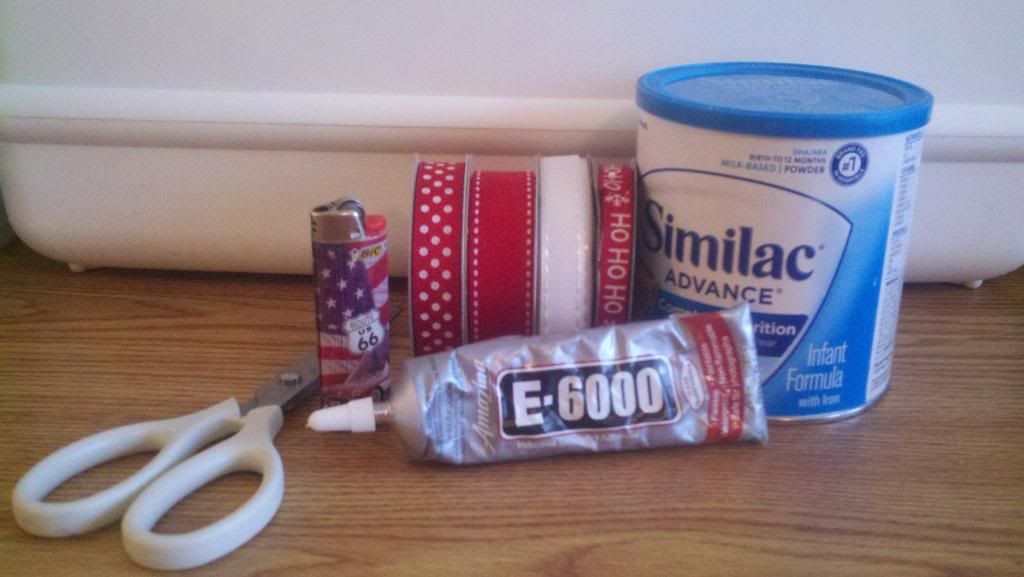
Supplies Needed:
- empty formula can
- a few different ribbons
- scissors
- lighter
- E-6000 glue (or a hot glue gun)
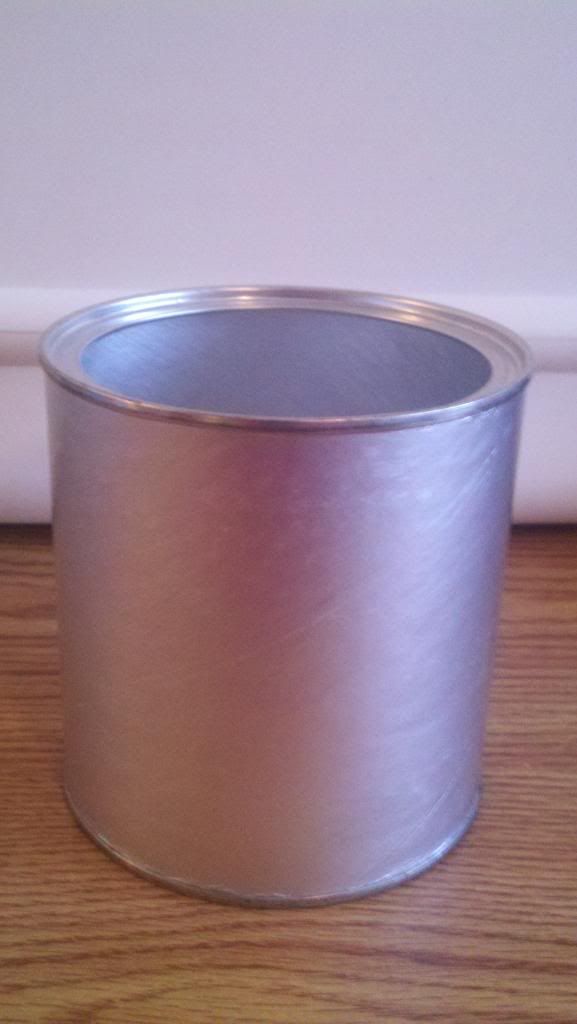
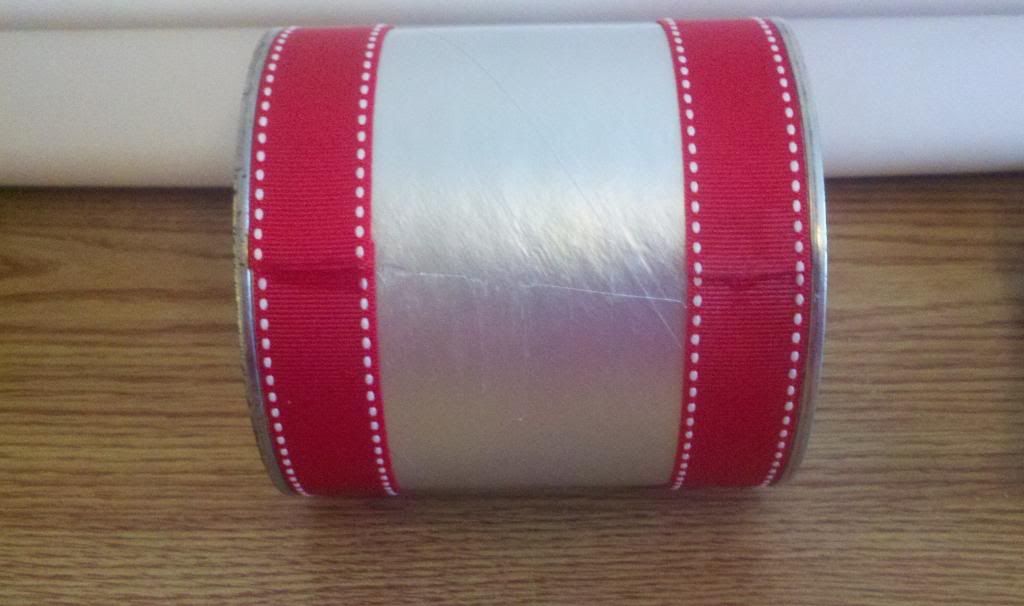
Peel the paper off the can and wash it out. Do not put it in the dishwasher. Dry it very well or it will rust.
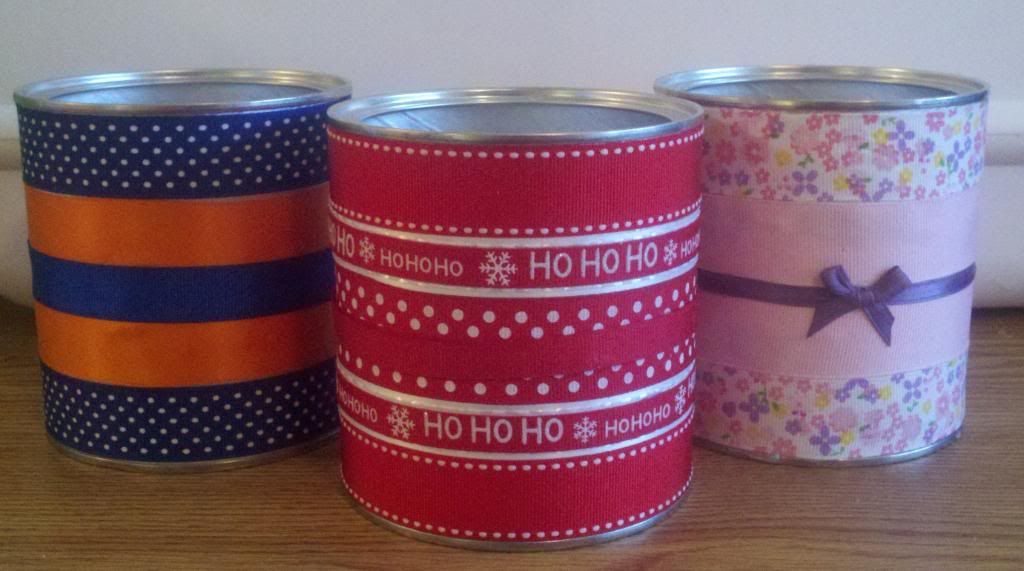
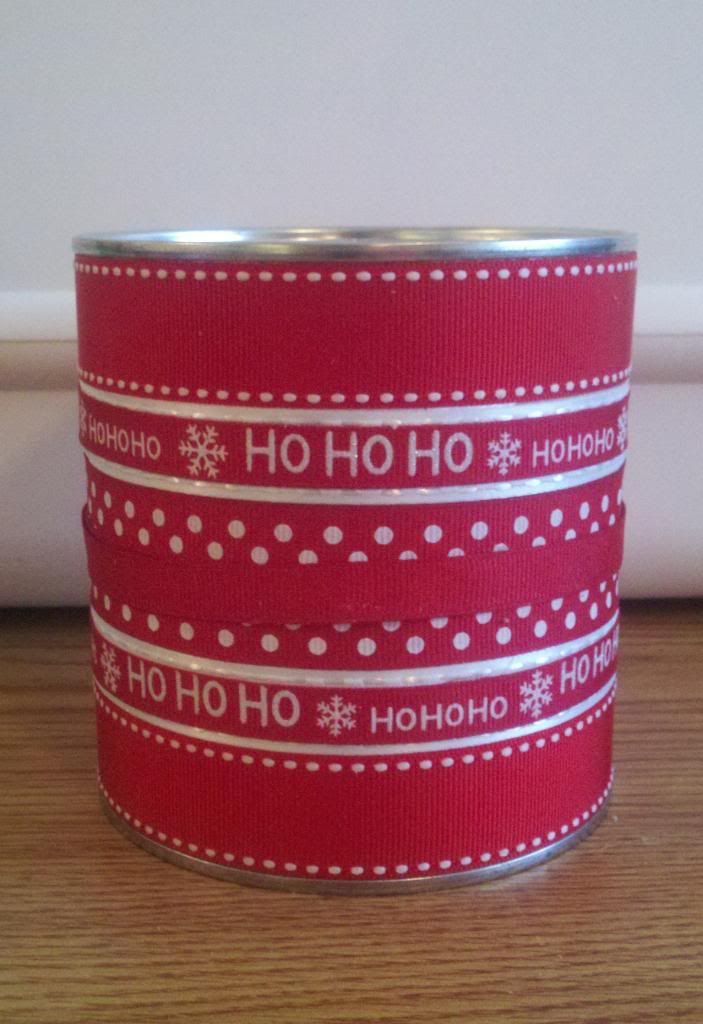
Chose the pattern in which you would like on the can. I am making a Christmas theme so I chose ribbons with red and white and one with Ho Ho Ho written on it. Wrap the ribbon around the can to determ the length (or use a tape measure) and then cut all your ribbons to that length. Heat seal the ends by running a lighter very quickly over the ends. You will see it melt a little bit. Don’t hold it too long or your ribbon will catch on fire.
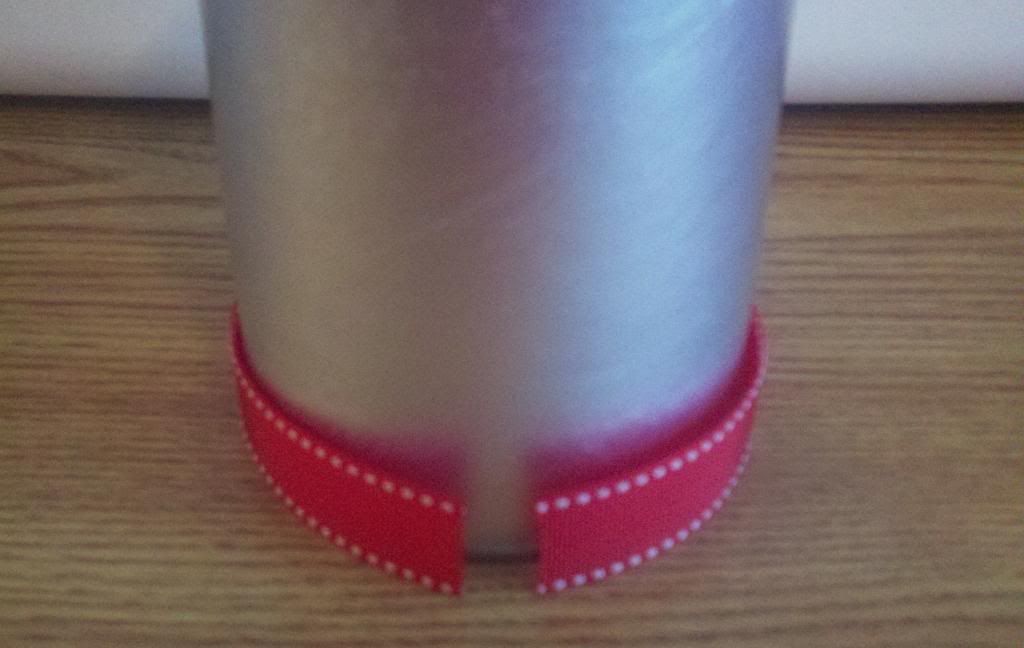
Starting at the top and bottom of the can glue the ribbons on one at a time working your way to the middle. I chose E-6000 glue because it holds really well and doesn’t leave a stringy mess like my glue gun does. I put the glue where the ends will meet and a few random times around the can just to keep it from sliding around.
Overlapping is okay if you ran out of space!
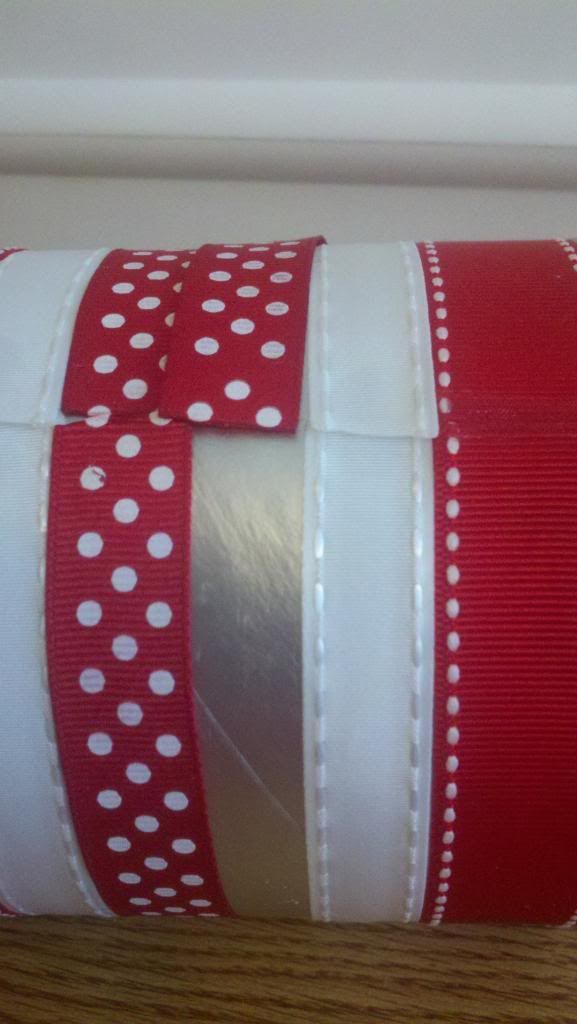
Step 3:
Add more ribbons to cover your ‘mistakes’. (There really are no mistakes while making this project!!) If you like the way your can is looking now you can skip this step.I knew I would be able to see where the dried glue is beneath the white satin ribbon and I dont like the way that looks. I used it anyway because I wanted to use it as a border around the Ho Ho Ho ribbon.
If you had to overlap in the middle, place another ribbon overtop to hide that. The solid red I used is actually the back side of the Ho Ho Ho ribbon.
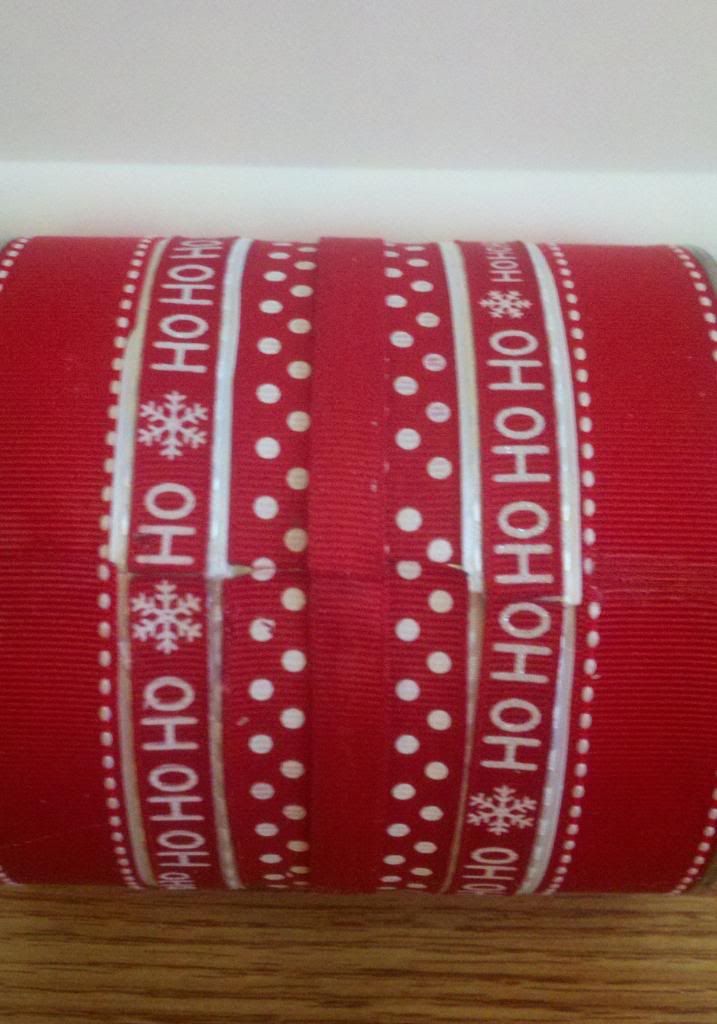
Cut one more peice of ribbon to cover all the ends. Heat seal the ends and glue in place.
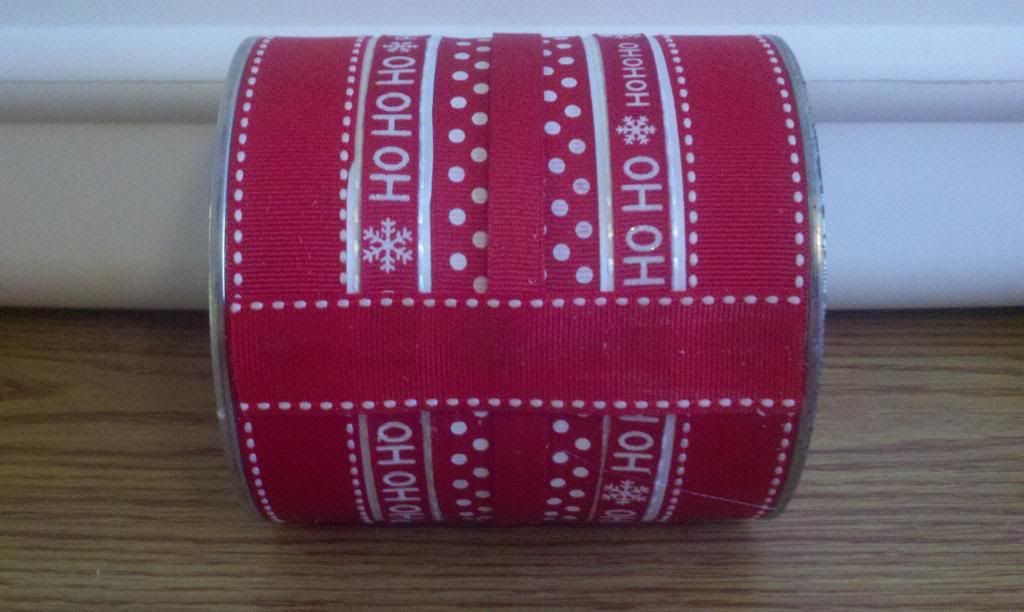
This would be where you fill your can with holiday goodies to give to a friend. Or cut a slit in the lid to use as a piggy bank. Or put it on your desk as a cute pencil holder. I keep one on my washing machine to hold little things I find in pockets when I’m doing laundry.
I'm going to make prayer cans for everyone at the Thanksgiving table. :) Thanks for the tips! God Bless!
ReplyDelete