Here are my instructions for making this fun loopy bow.

Step 1: Gather supplies.
Ribbon
floral wire
french barrette
scissors
lighter


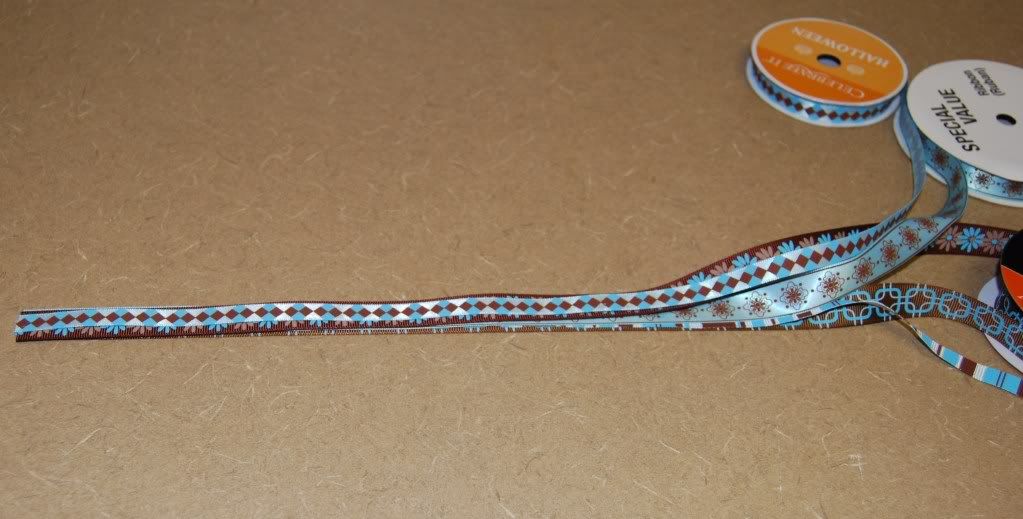
Gather ribbons of different texture and size. I am using 5 ribbons in this bow. Two are satin, three are grosgrain and the widths are 3/8" and 5/8". You can use as many or as few as you wish but I would recomend at least 3. Using more will give you fuller bow. Stack them on top of each other.
Use floral wire to wrap around your ribbon stack and the barrette. I use a 26 gauge wire because it is thin and pliable but also strong.

Step 5: Make loops.
Make a loop roughly 2 inches high (I don't actually measure it) and secure in place with the wire by wrapping it around several times. I think it looks best when it is about the same height as the length I left on the end before I wrapped the wire around the first time.

Keep making loops and wrapping the wire around. Push them as close together as you can and try to keep the loops all uniform.


Step 6: Cut and heat seal the ends.
Finish the ends by cutting some at an angle and some in a 'V'. Then very quickly use your lighter to go over the edges so they do not fray.


Step 7: Seperate the loops.
Use your fingers to pull the loops apart so they are no longer stacked. Make the order as random as possible.

Step 8: Reassemble the clip.

And you're done!
No comments:
Post a Comment